1. Connecting LINE
About ten minutes of your time. You own the account; we do the technical part.
Messages your clients send you on LINE land in your Inbox, and replies go out from there. You own the LINE Official Account — we are an administrator on it, and you can remove us whenever you want.
It starts on Channels and asks about ten minutes of your time. The rest is ours: the request then moves through a timeline on that same row, so there is never a step you have to guess at.
Step 1 — Request the connection
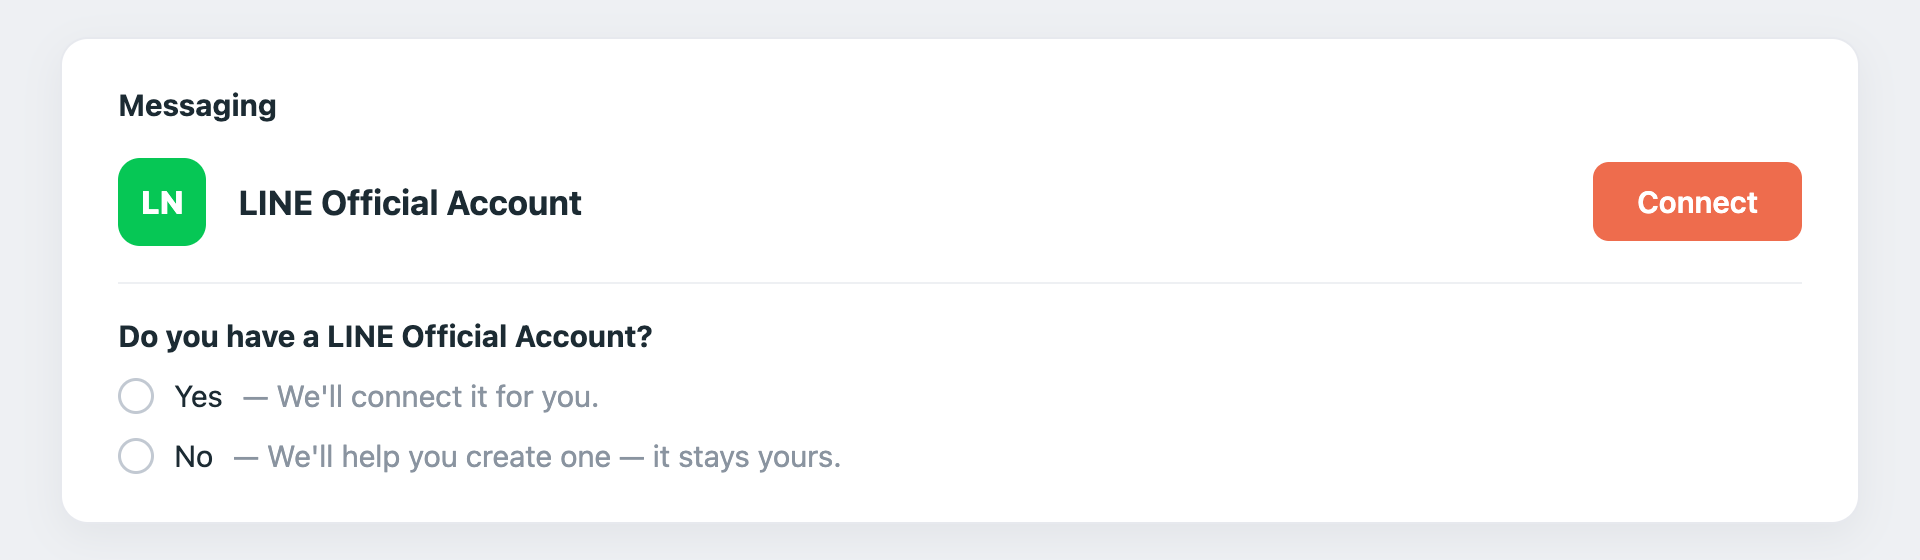
On Channels, press Connect on the LINE Official Account row. One question follows: Do you have a LINE Official Account?
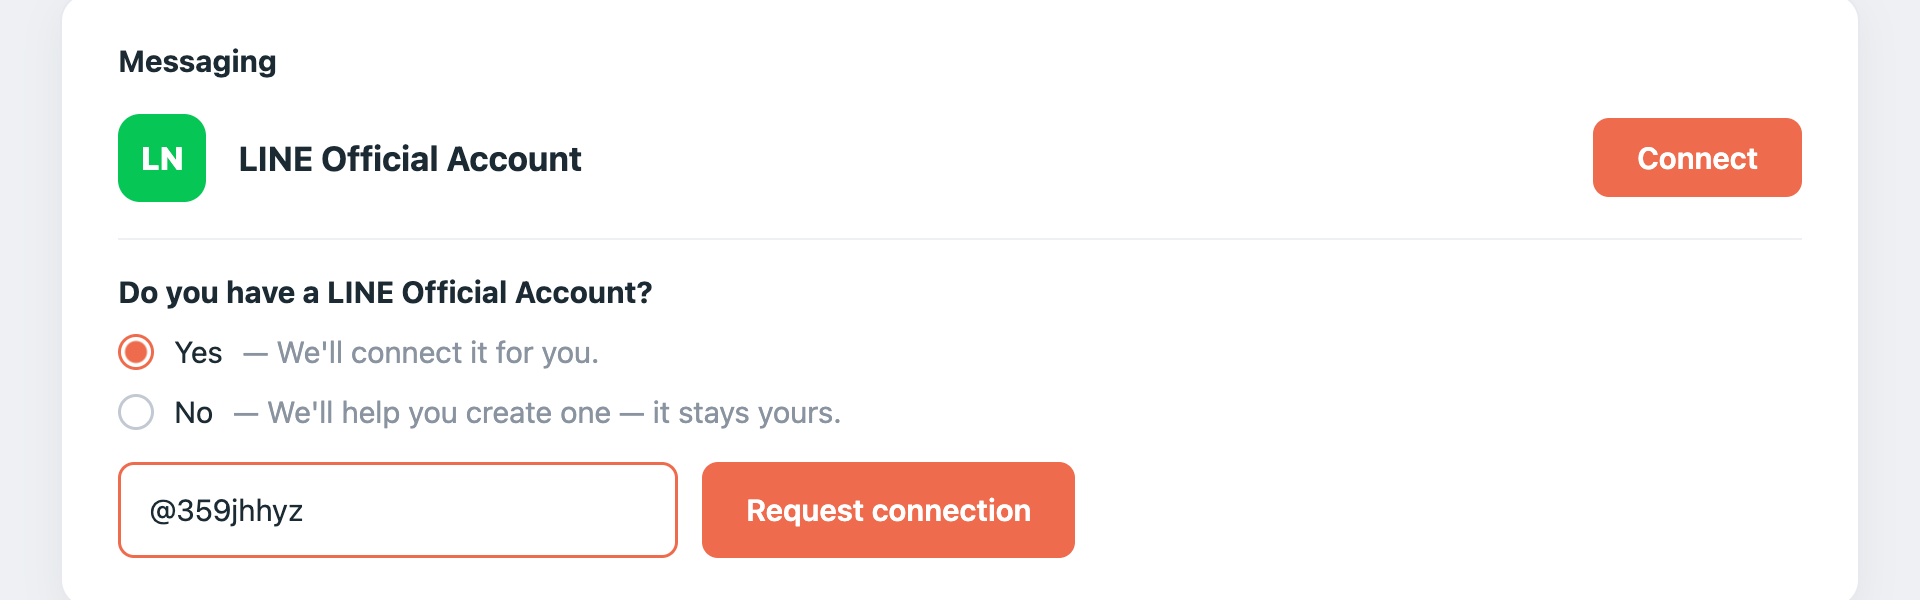
Yes — type your LINE ID (the @name, for example @359jhhyz) and press Request connection. That is everything we need from you here; go straight to step 3.
No — pick it anyway. The request is created, and the timeline puts creating the account first. Step 2 is that; come back for your @ID afterwards.
Step 2 — Create a LINE Official Account
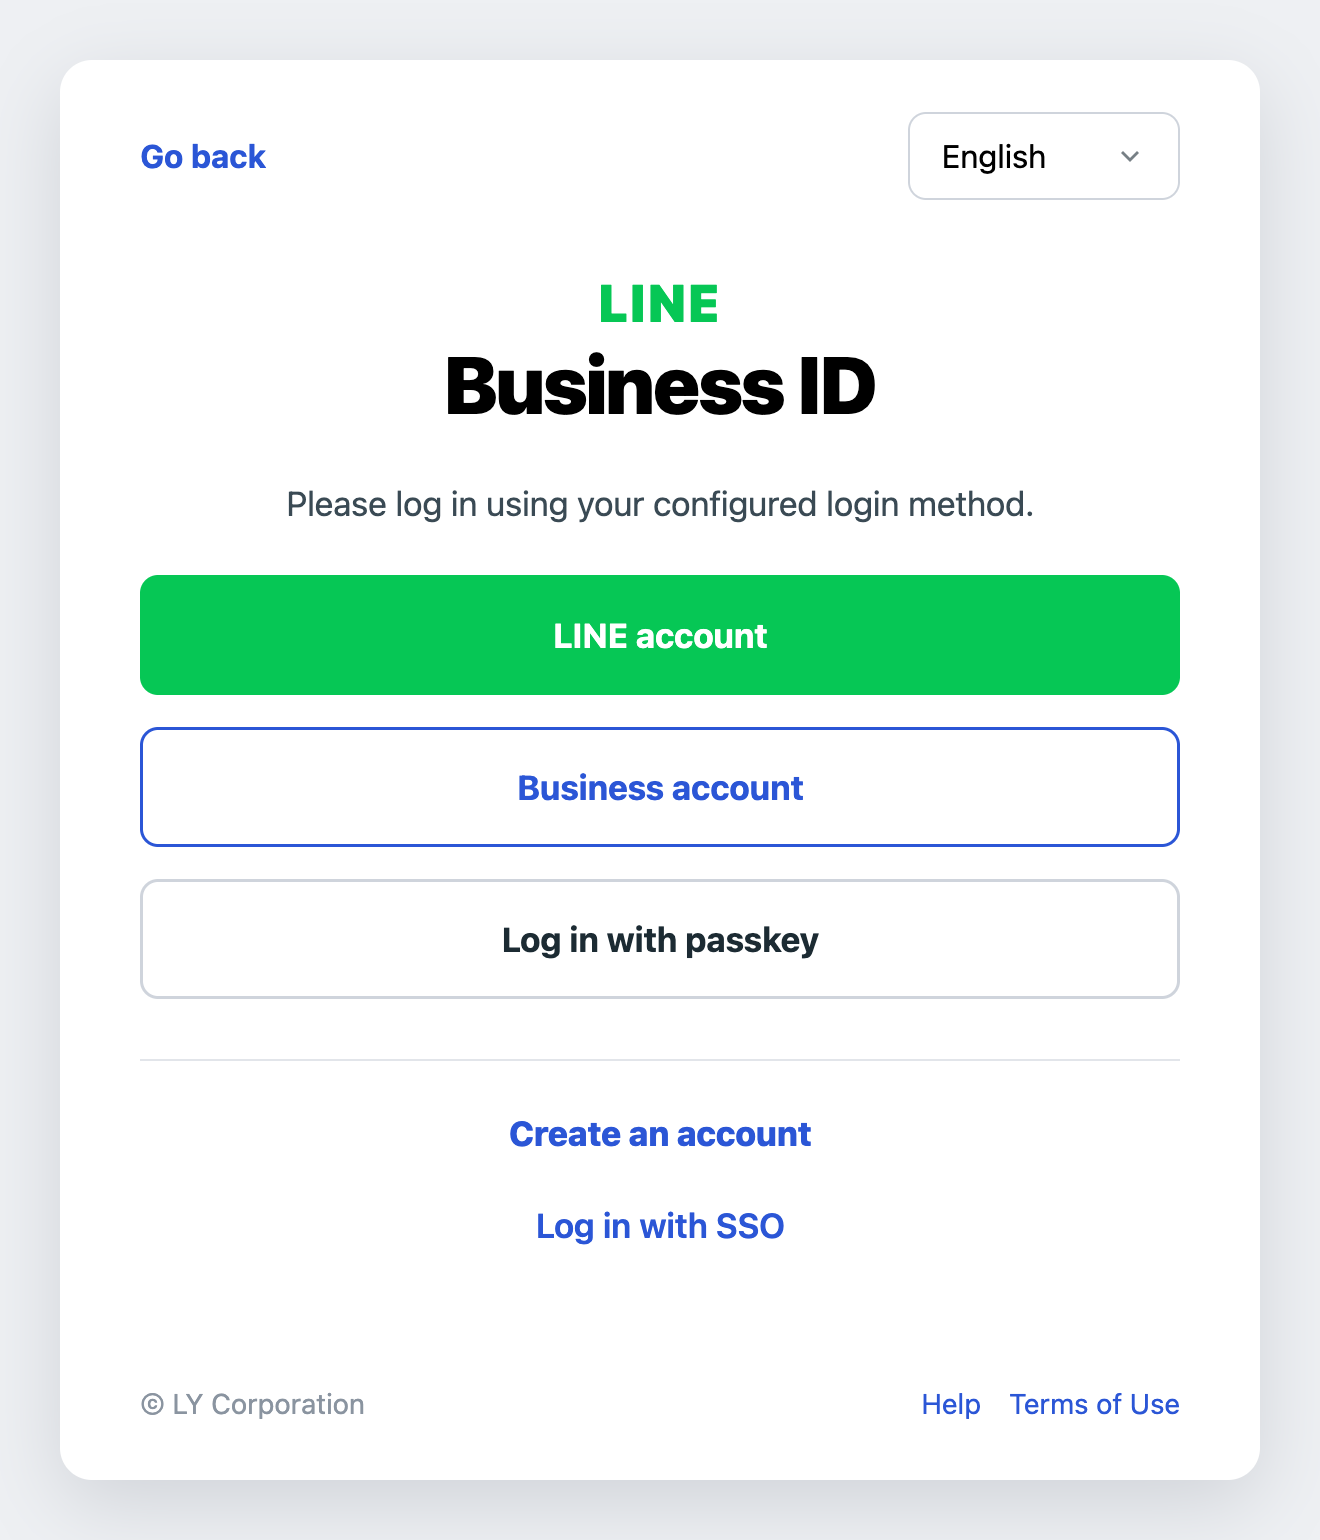
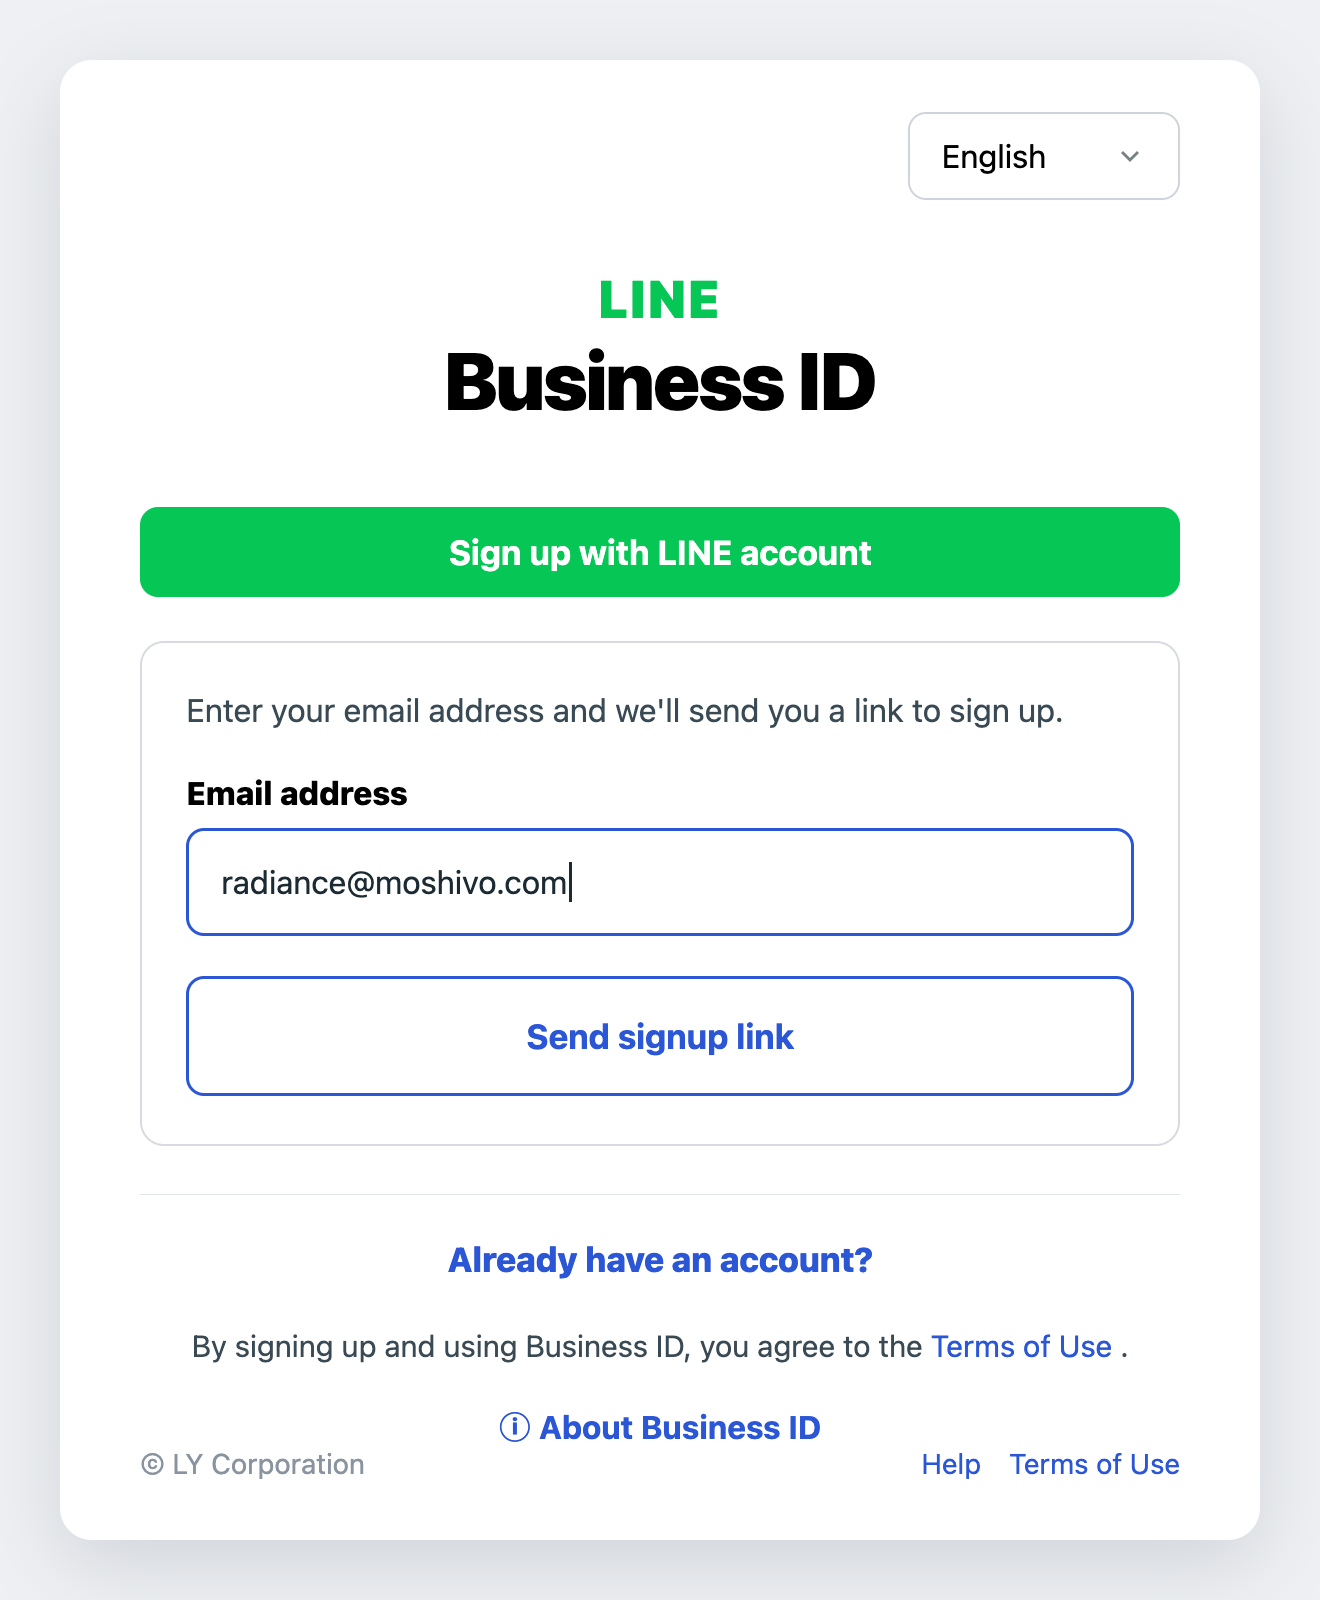
Skip this if you already have one. Otherwise start at entry.line.biz — the single entry point that creates everything. It opens on the LINE Business ID screen: log in if you have one, otherwise press Create an account.
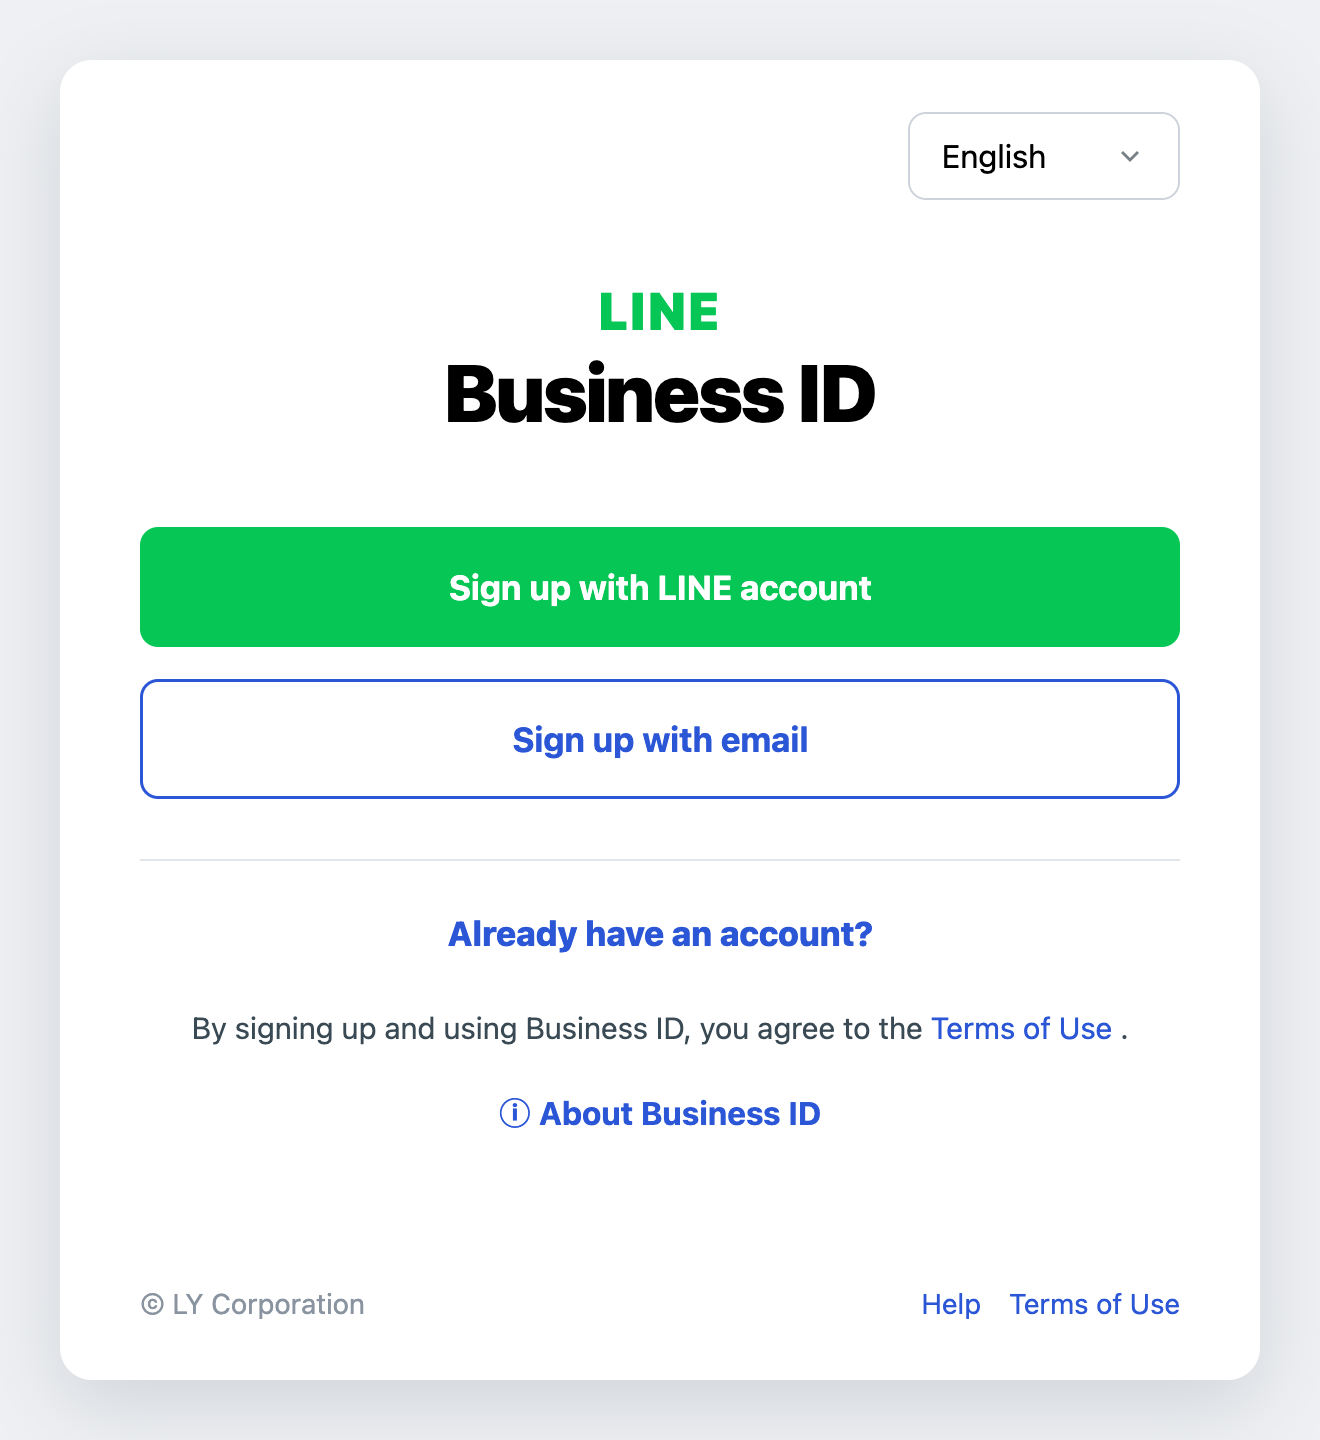
Sign up with emailrather than with a LINE account. This ID will own your Official Account, and an ID tied to an employee's personal phone leaves with the employee.
Enter your business email and press Send signup link.
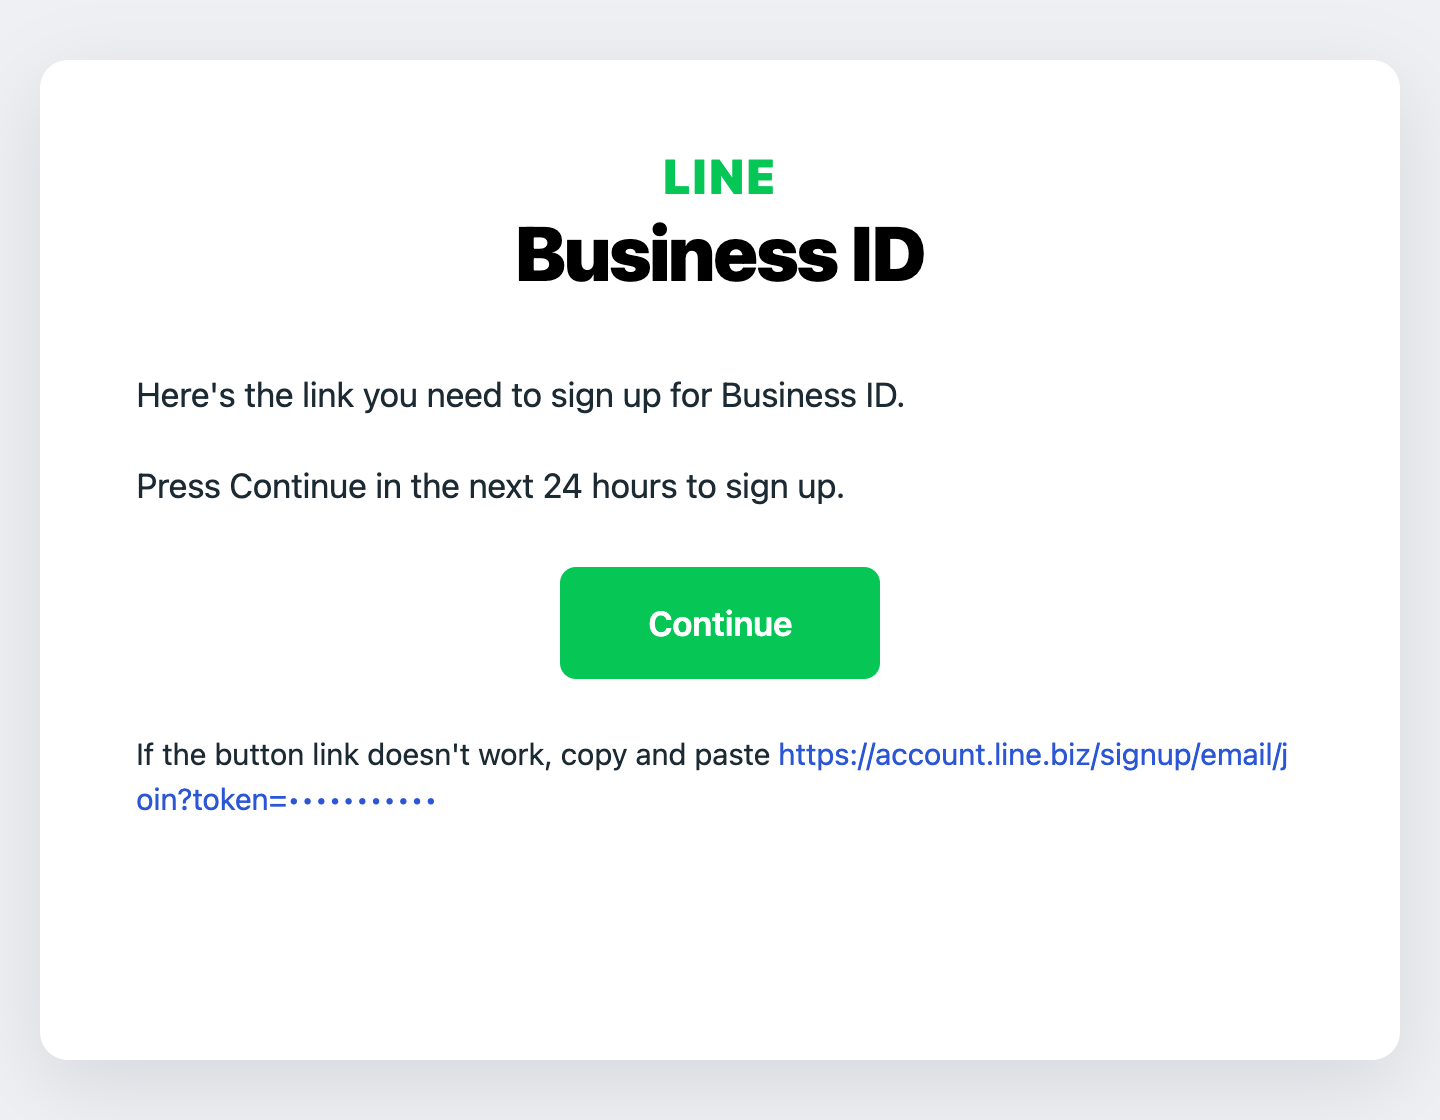
Open the email from LINE and press Continue. The link is valid for 24 hours.
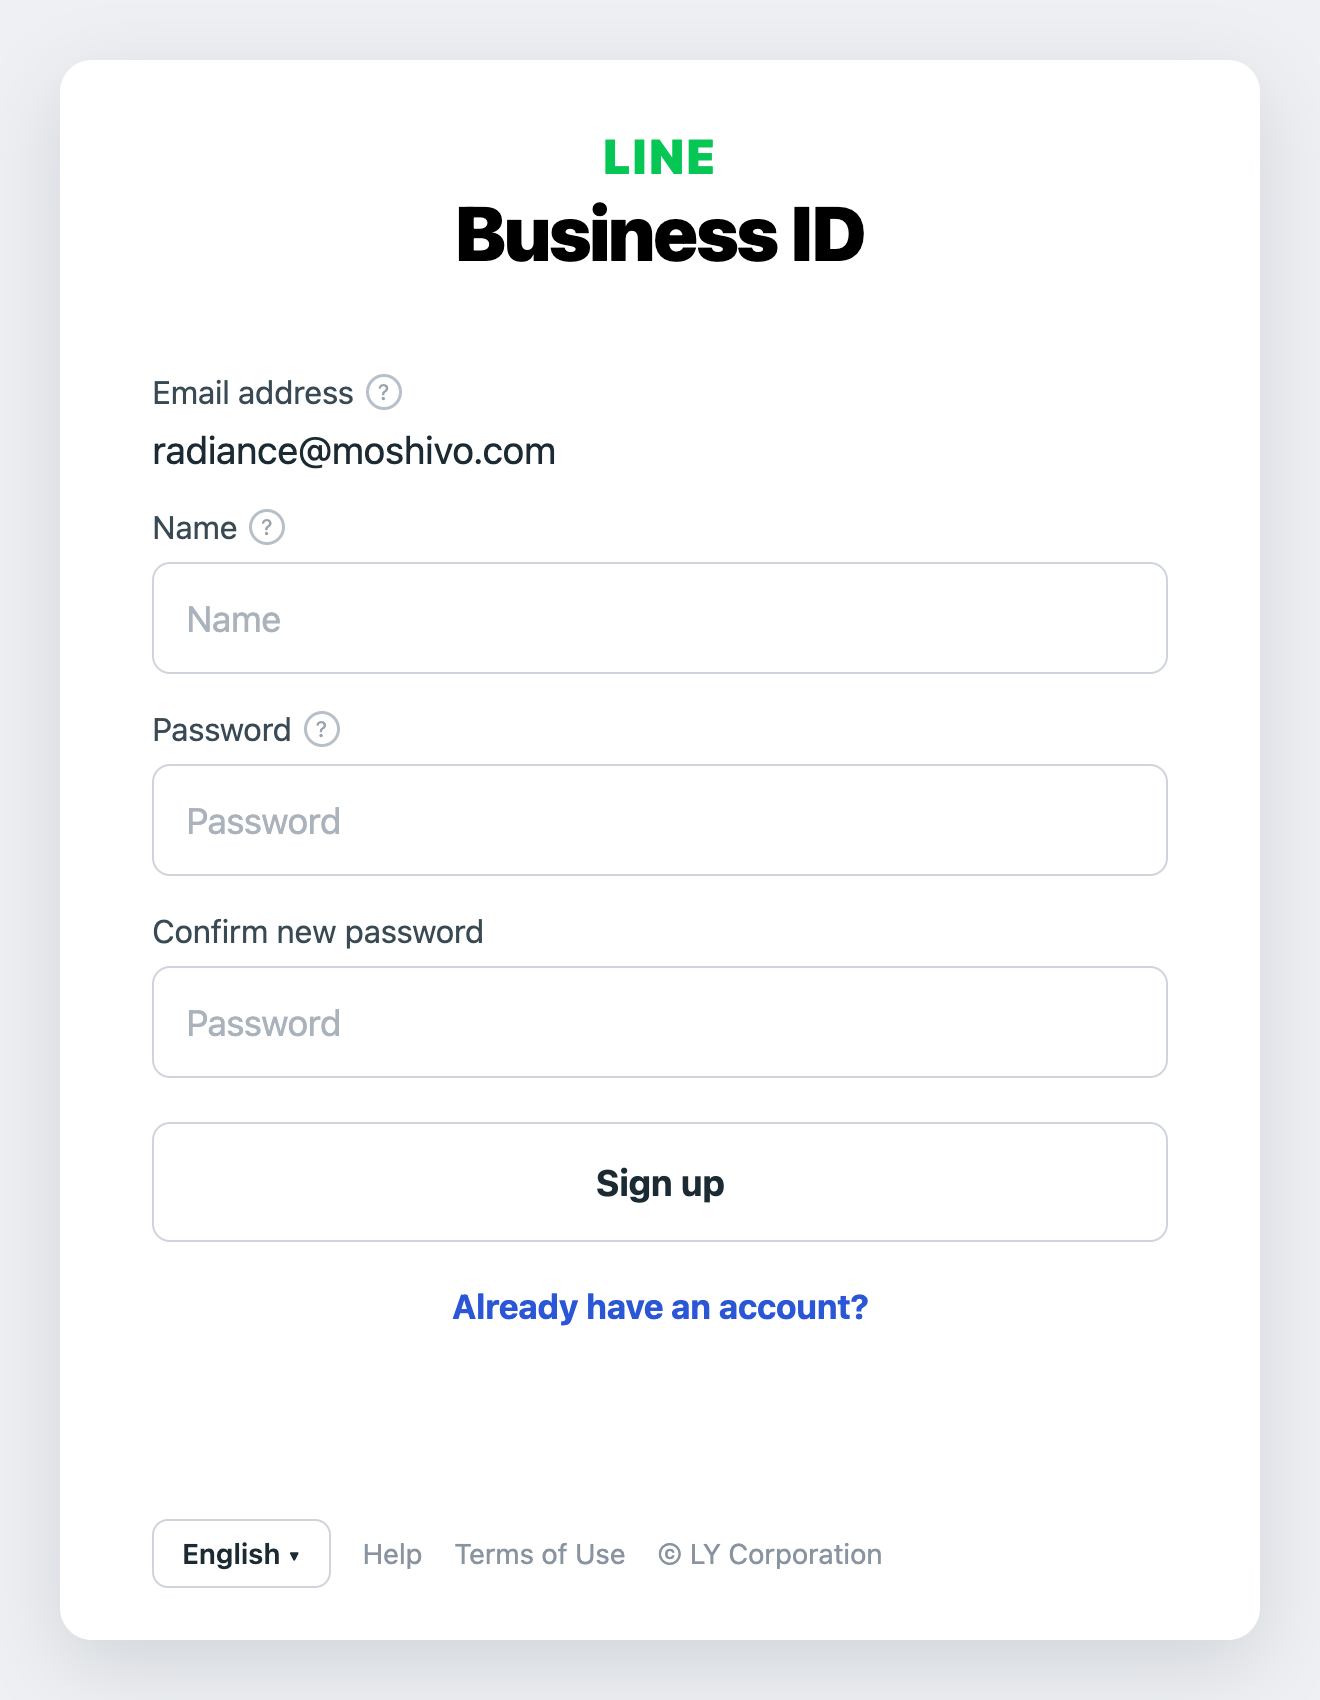
Set a name and a password of at least 10 characters, confirm, and press Sign up.
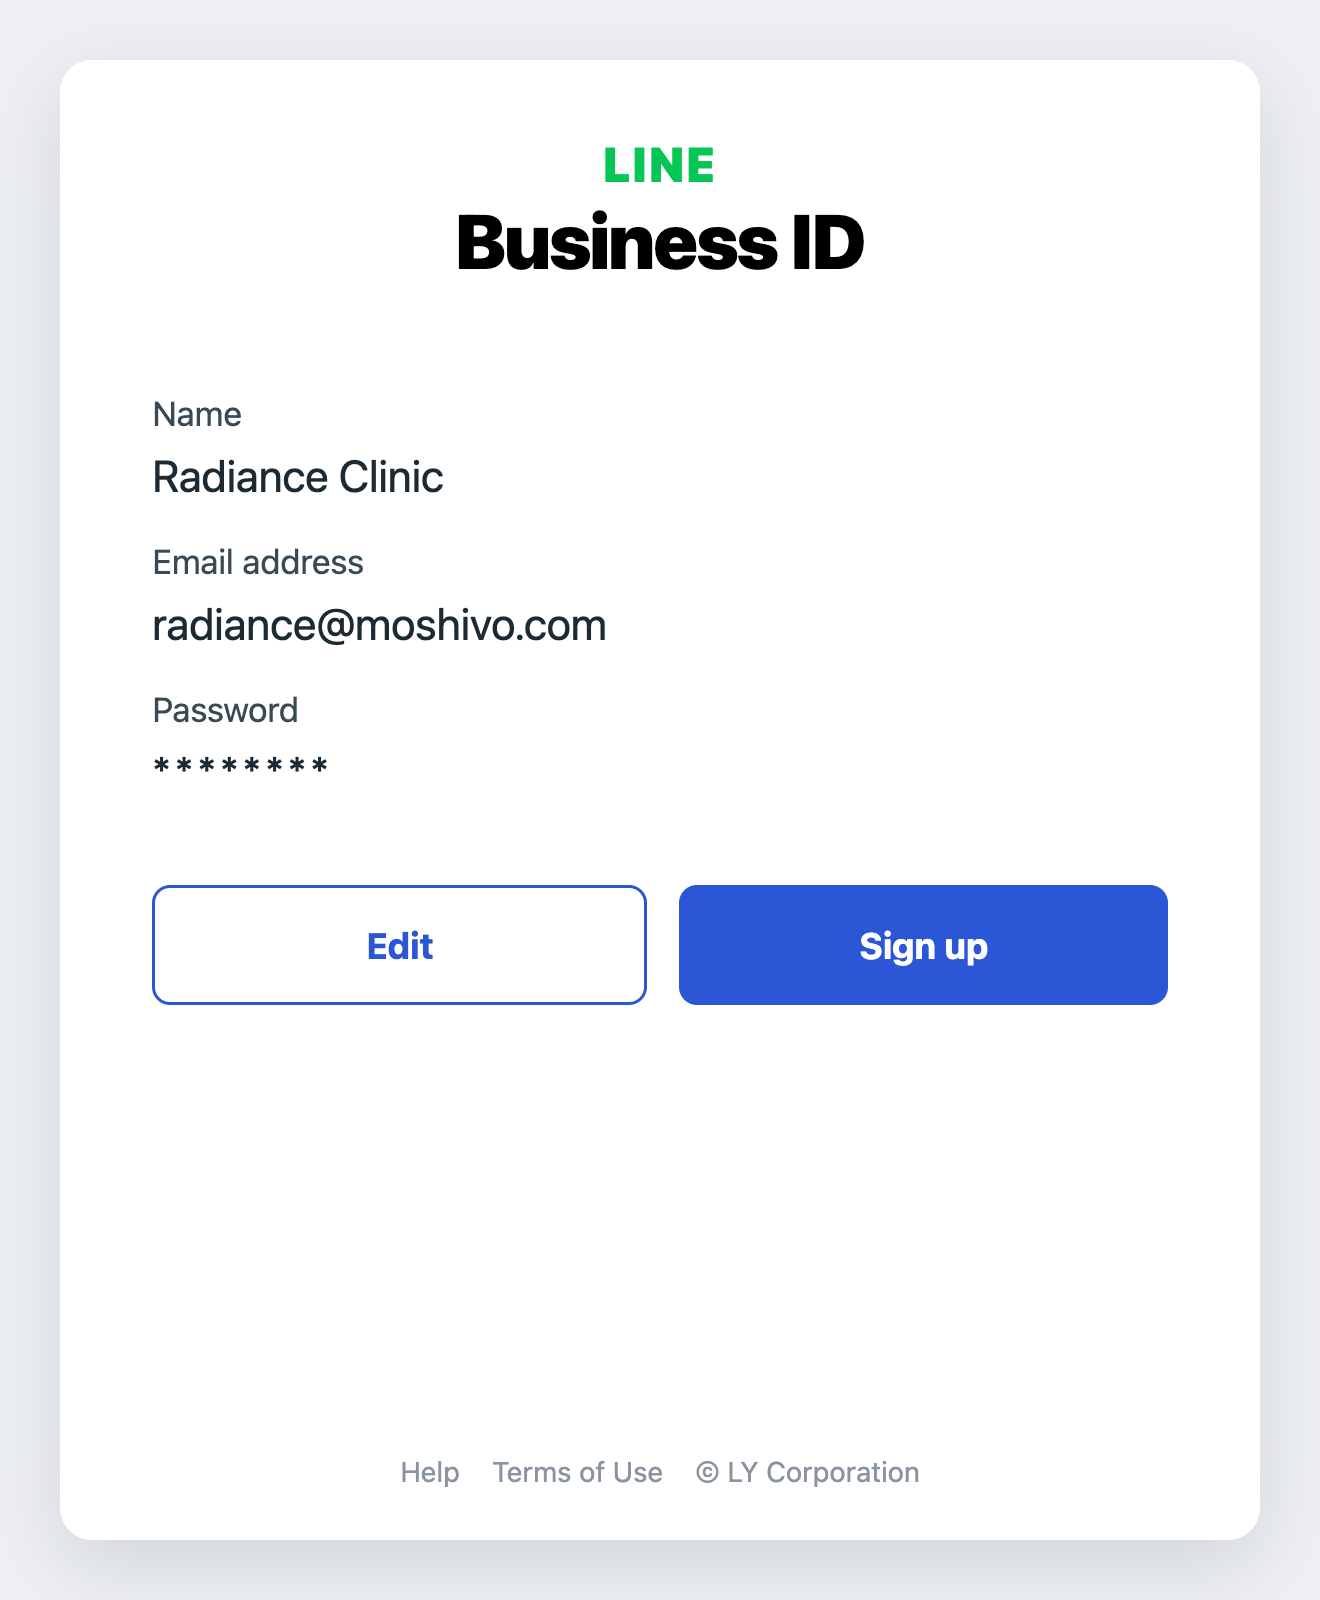
Check the details and confirm. The Business ID exists.
Then create the Official Account itself at entry.line.biz/form/entry/unverified: account name as clients should see it, email, business category, country. It is free, and the free plan includes a monthly message allowance. The form may appear in your own language; the fields are in the same order.
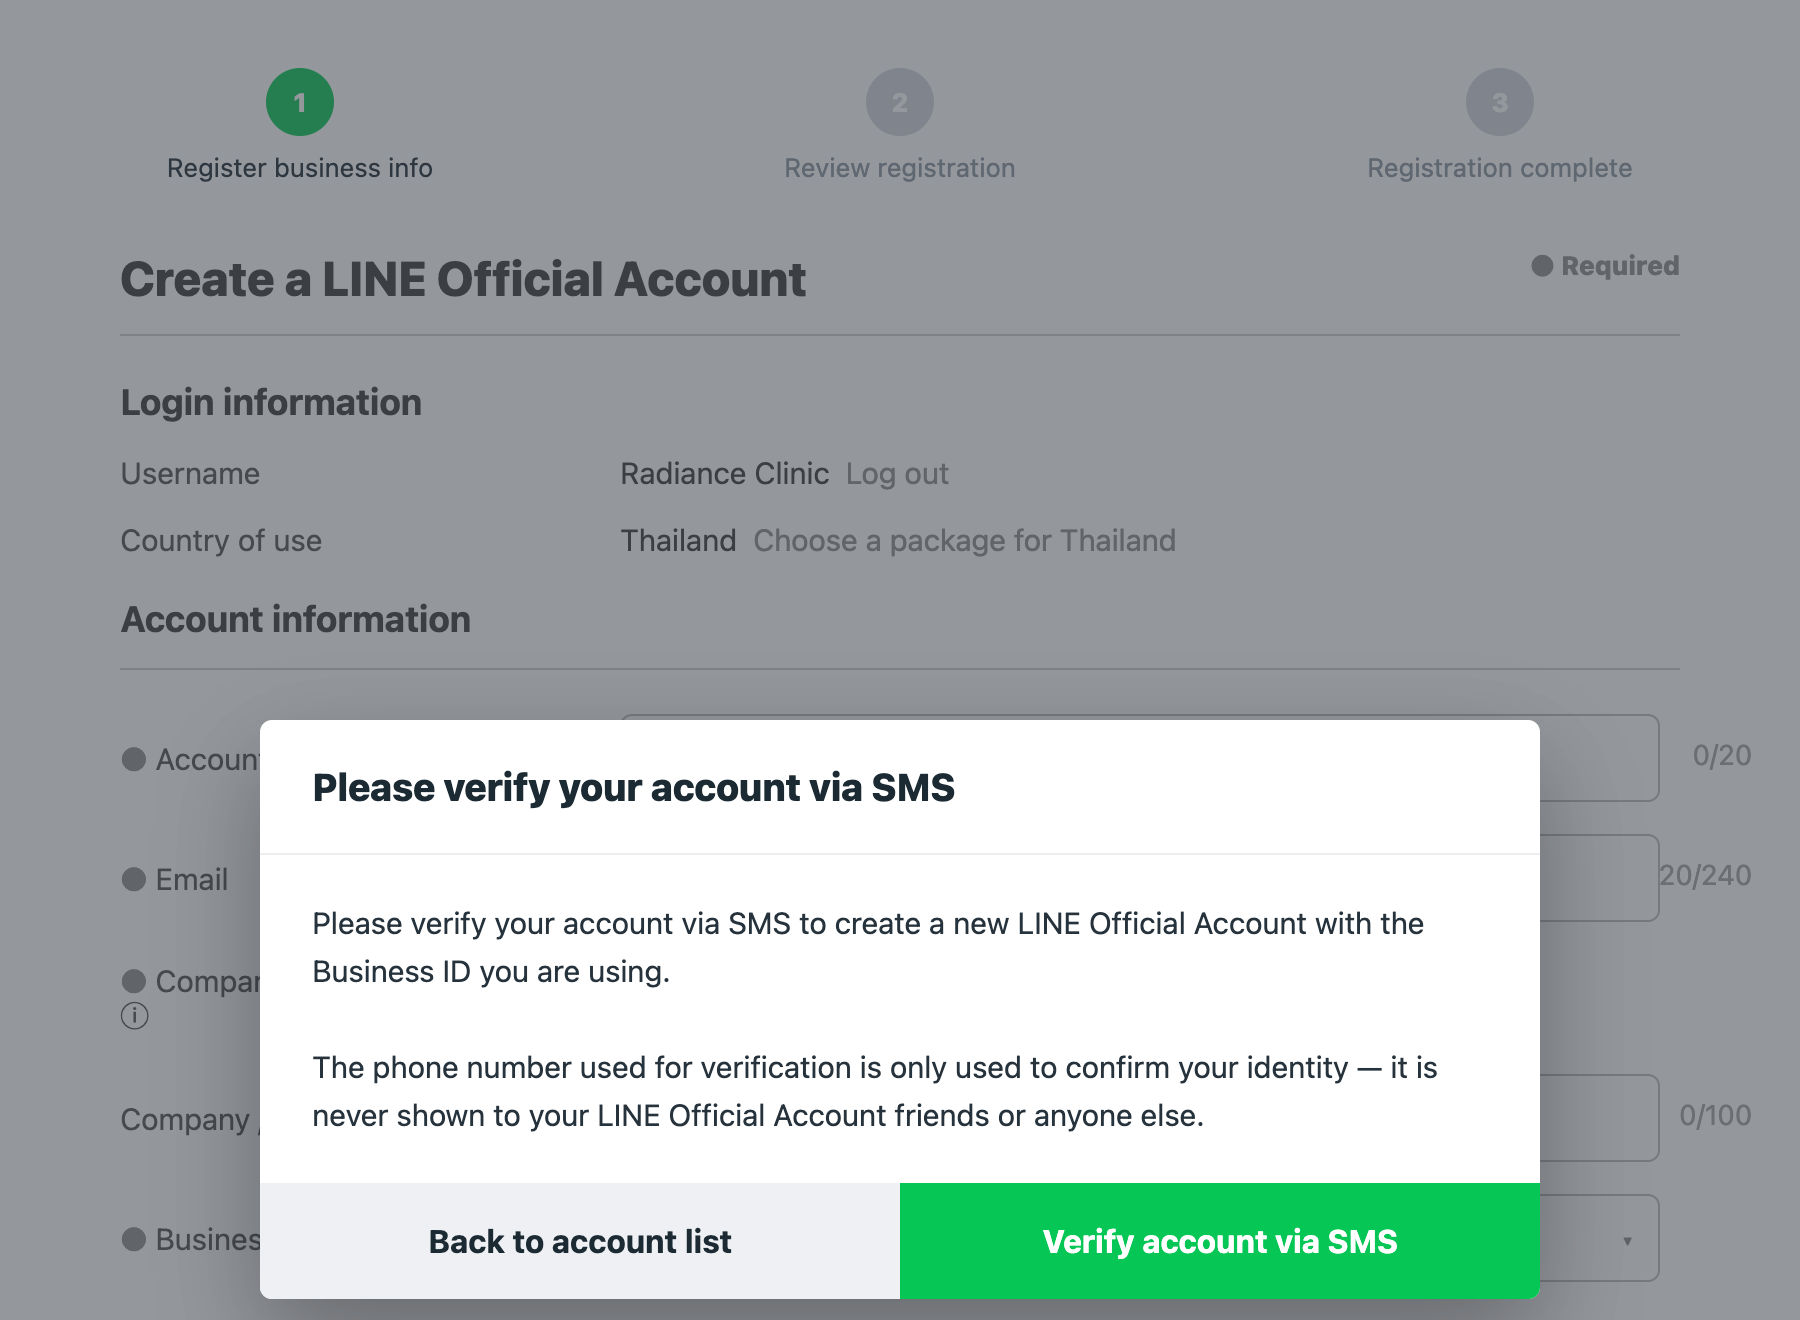
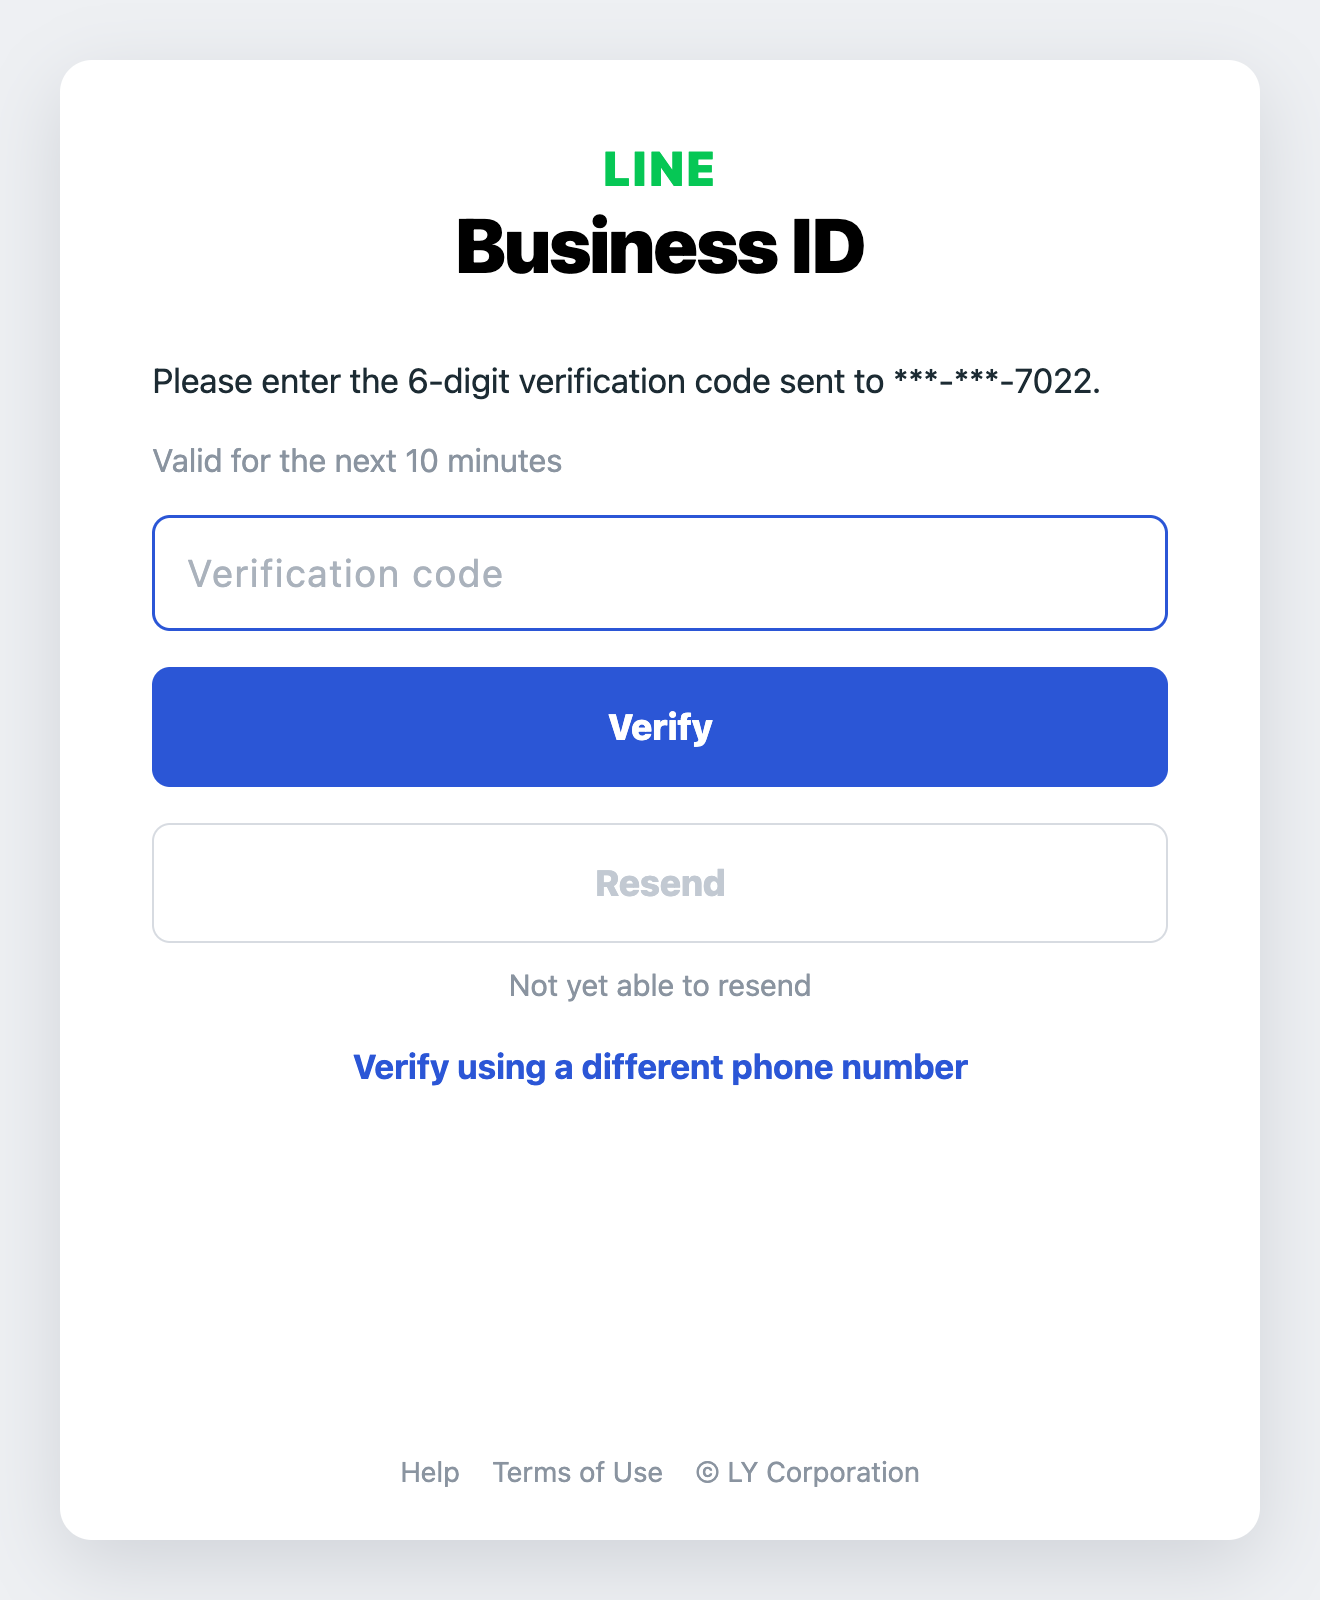
Enter your mobile number, then the 6-digit code LINE texts you, and press Verify.
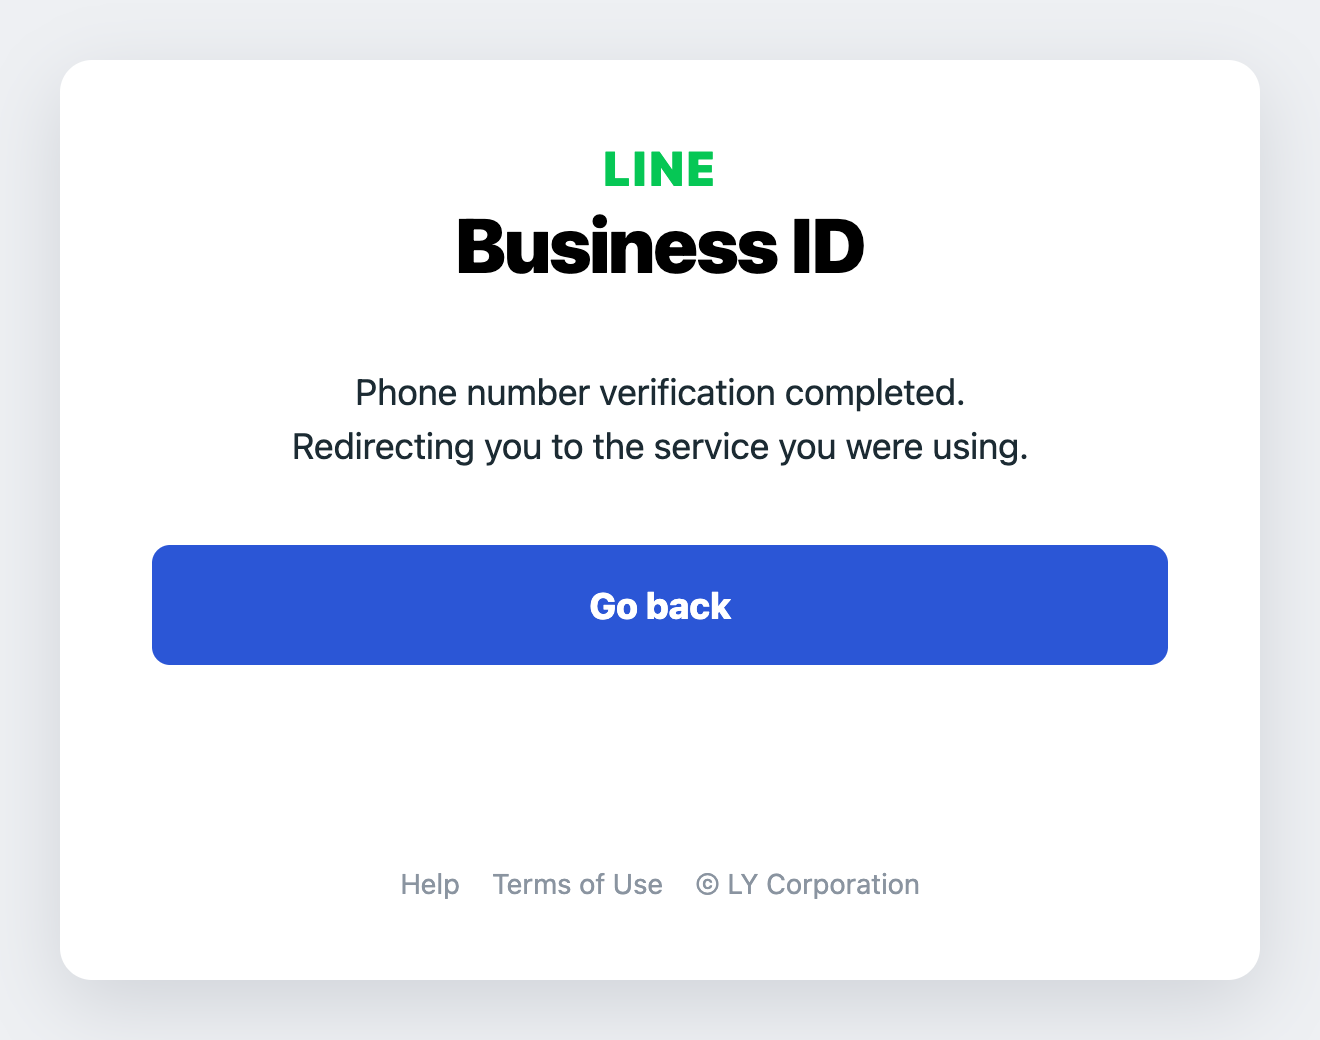
Once verified, LINE takes you back to finish the account.
Step 3 — Invite Moshivo as an administrator
Open the LINE Official Account Manager, select your account, and go to Settings → Manage permissions → Add member. Under Grant members permissions via direct URL links, set Permission type: Administrator and press Generate link.
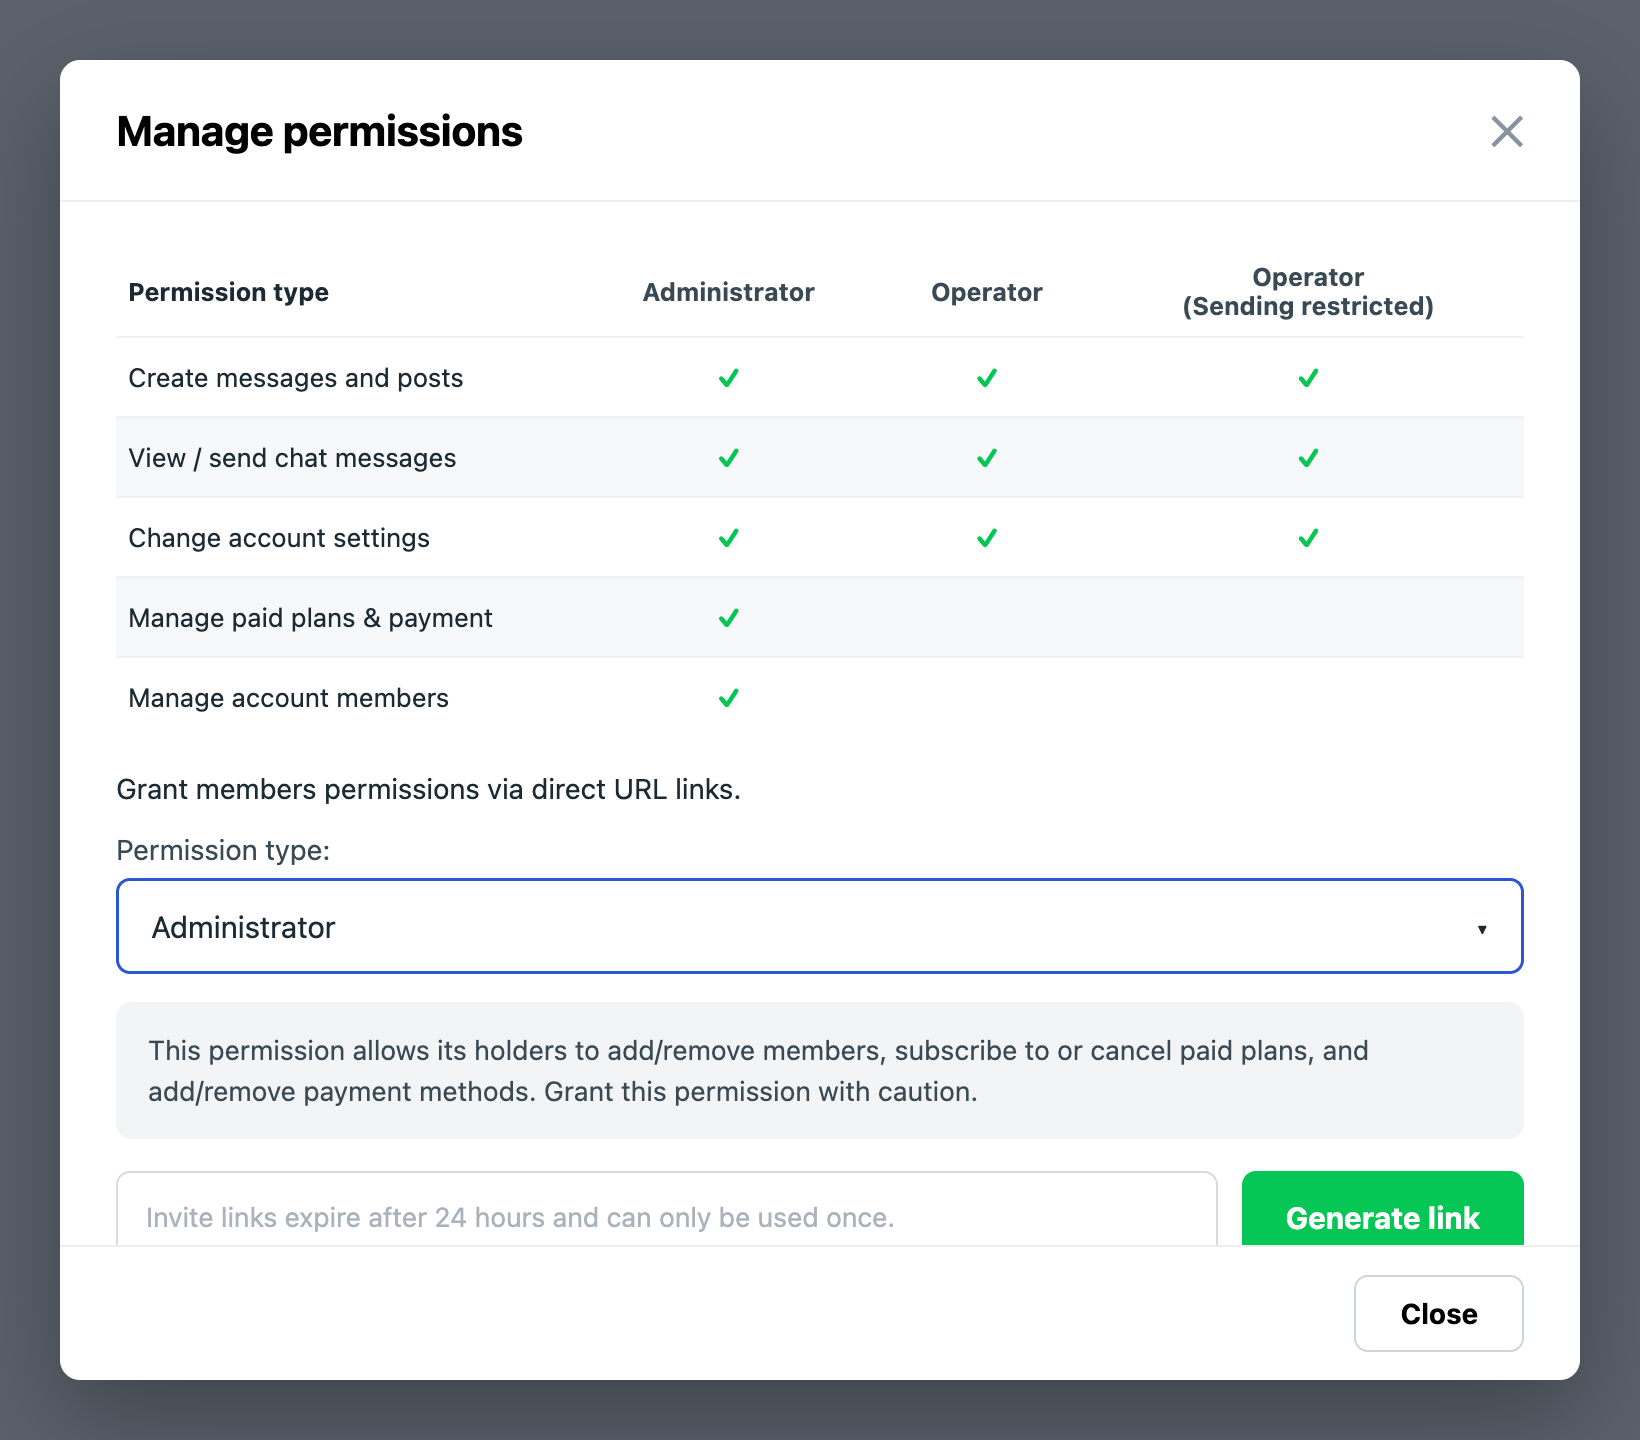
Send that link to hello@moshivo.com. It expires after 24 hours and works once.
Then come back to Channels and press I've granted access on the timeline. Nothing we run can see an invitation arrive, so that button is what tells us to take over — without it the request waits.
We connect the account
The row moves to Configurationand there is nothing left to do. We enable the Messaging API, register the webhook that delivers messages into your Inbox, and turn off LINE's own auto-replies — otherwise LINE answers first and your client gets two replies.
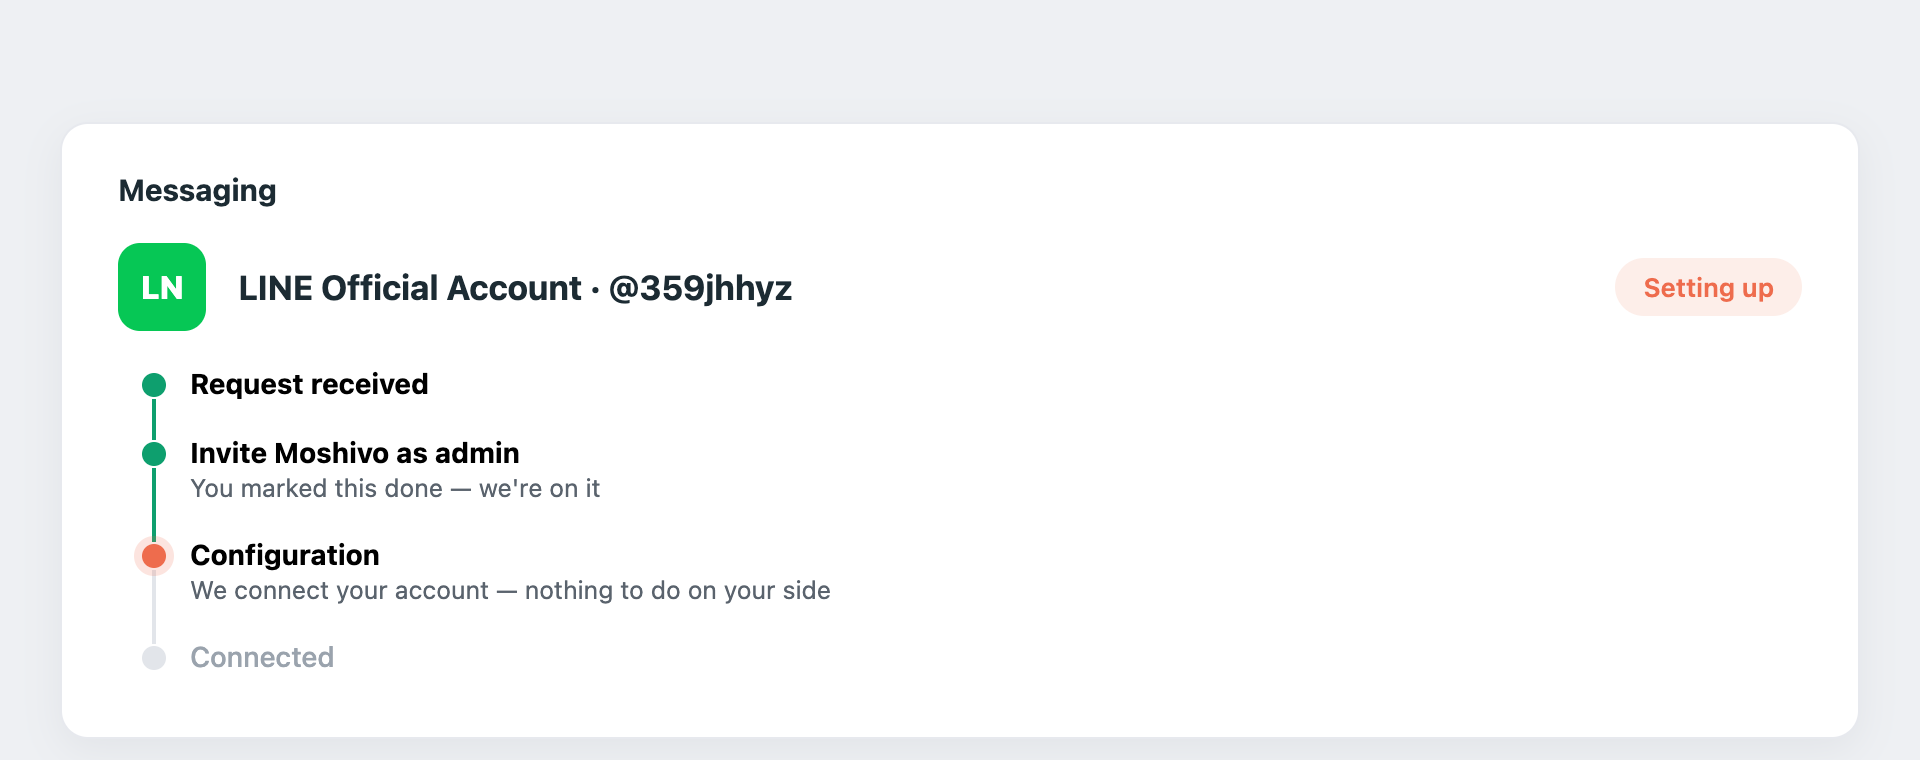
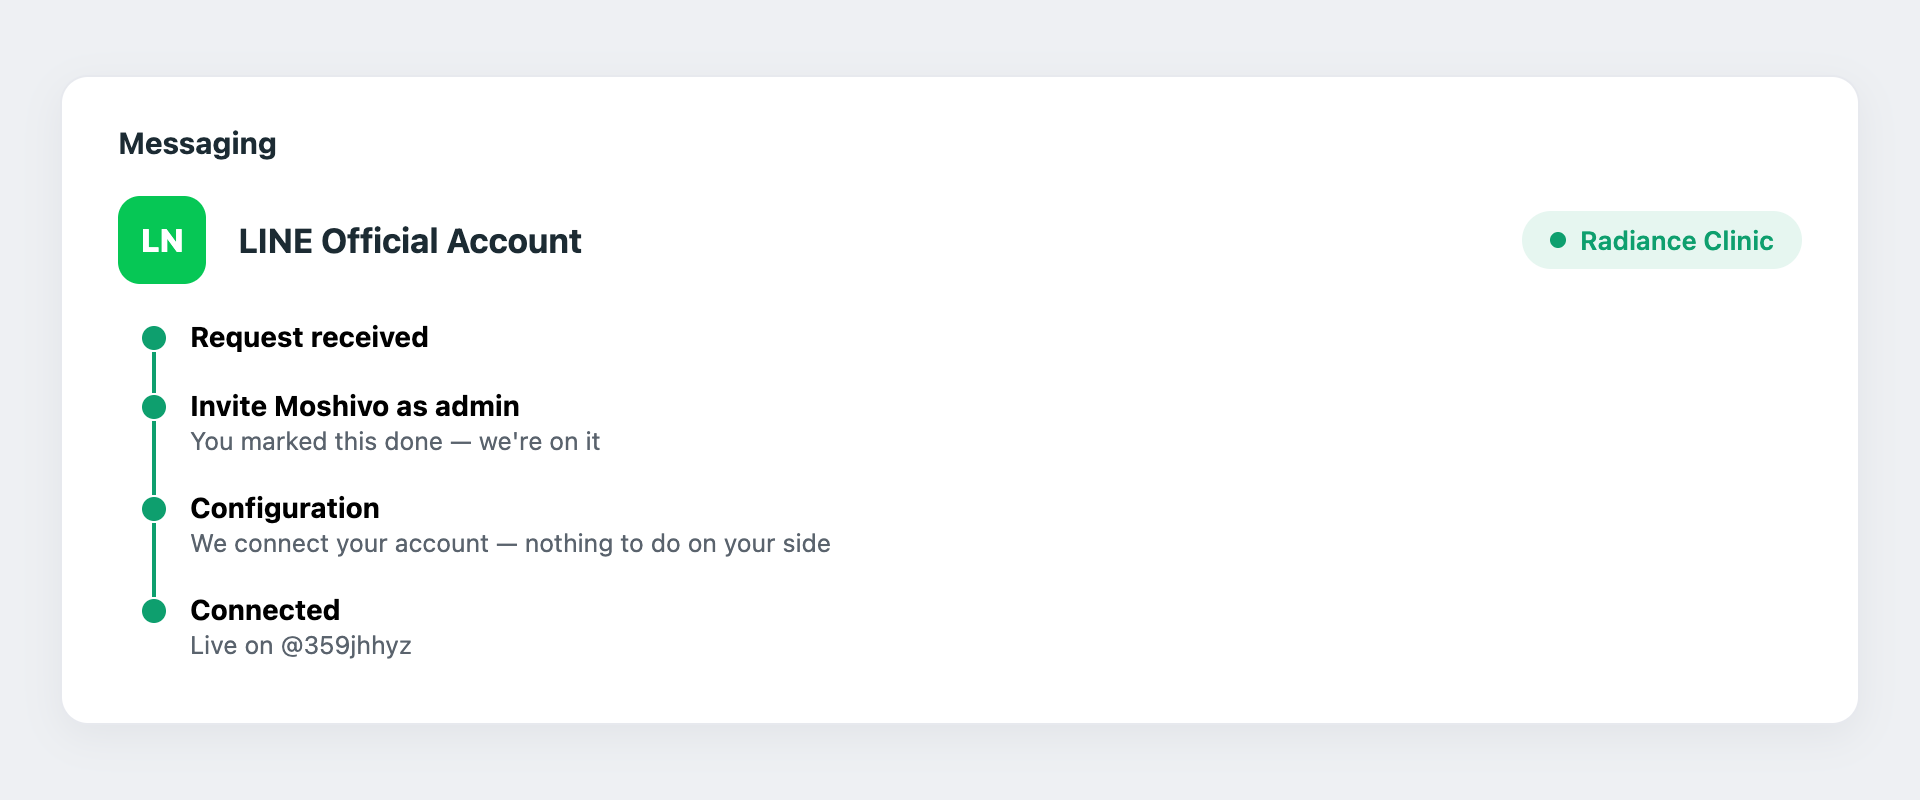
When it is done the row collapses to a green chip with your account name, and messages start arriving in the Inbox.
Tell your clients
Your LINE ID and QR code are in the Official Account Manager under Gain friends. Put the QR code on your website, at the front desk and on your social profiles. Anyone who writes appears in the Inbox, and a contact is created for them.